Winter Greenhouse Growing Guide
- Posted on
- By Jake Kvam
- Posted in blog, DIY Greenhouse, Greenhosue PVC Fittings, Technically speaking
- 0

This guide will show you tips and tricks to grow your favorite plants during mild winters.
Winter Greenhouse Growing Guide
The Season Isn't Over Until You Say It's Over!
The air is getting colder, and the nights are getting longer. It's getting difficult, if not impossible to grow some of the things we love in these conditions. But worry not! With a little work, we can create the right conditions to grow year round. But first, we're going to need to address a few things.
How to deal with chill of winter
How far we need to go here will depend a lot on where you live. So we'll use where I am for examples, and build out ideas along the way. We're going to need to solve a few things. Mostly, temperature and light. So the first things we're going to need to do is protect our plants from the chill, and the rain. To do that, we'll first need to wrap them up. We have a few options here. You can buy ready to go greenhouses that are fairly easy to assemble like here.
|
|
Flowerhouse Farmhouse 9' x 9'$382.50
|

Don't want to spend the money on something pre-built when you easily build something yourself? I like you're style, lets do it.
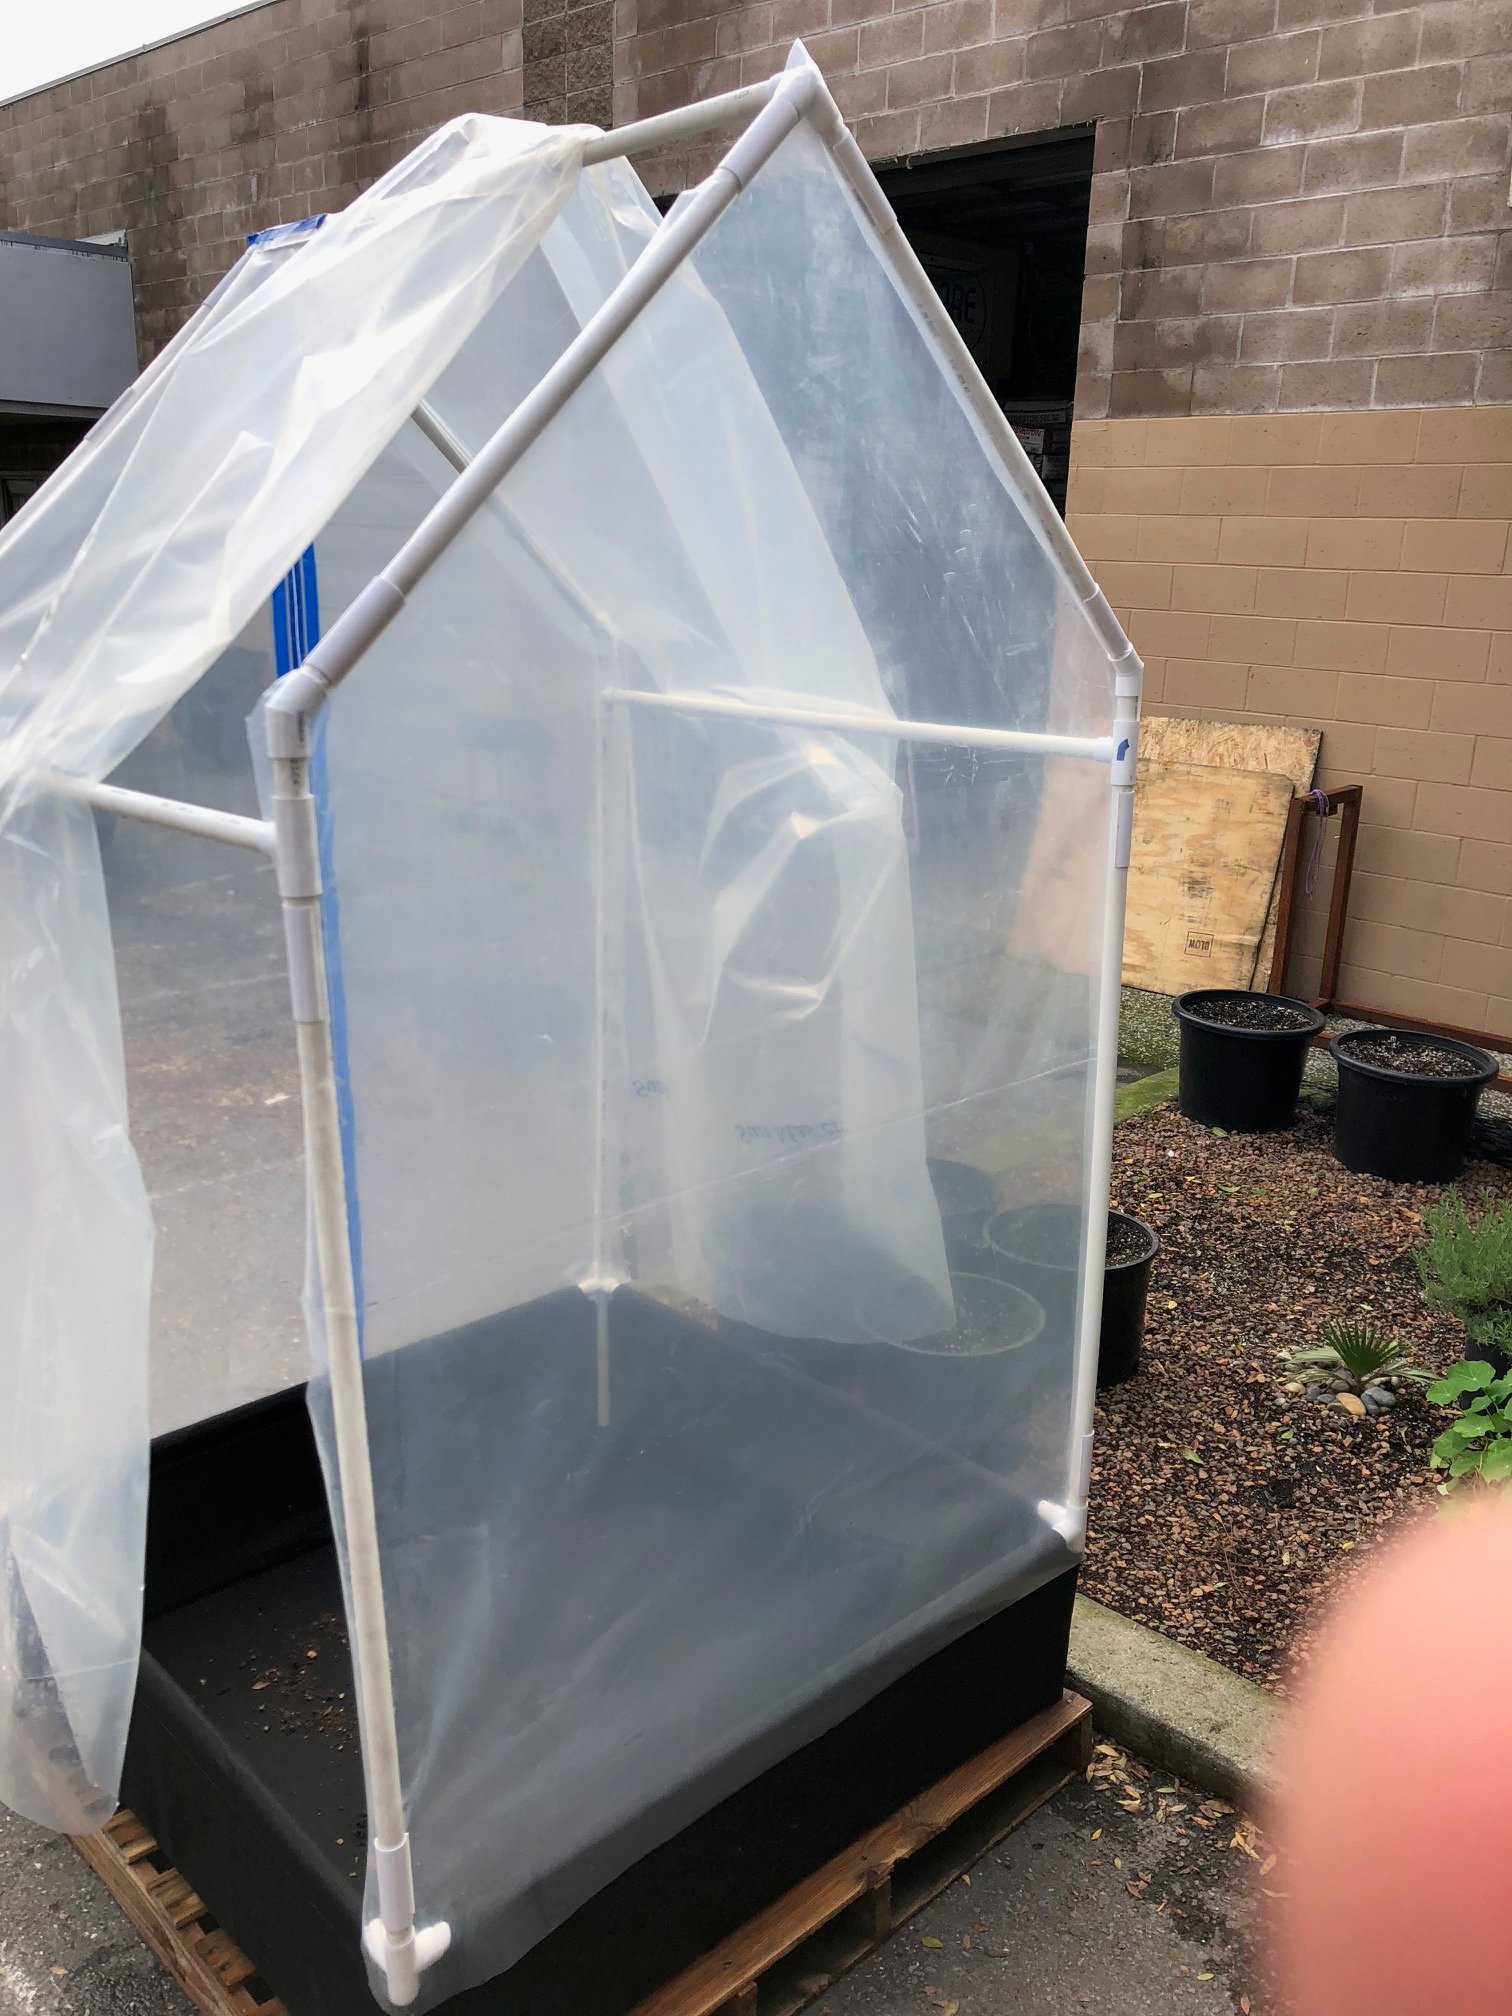
Build You're Own PVC Framed Greenhouse
What is this? This is a greenhouse we built. And the whole thing was about $100. Here's a short list of some of the things that went into this thing.
PARTS LIST
Things I sell
|
Nearest Hardware Store
|
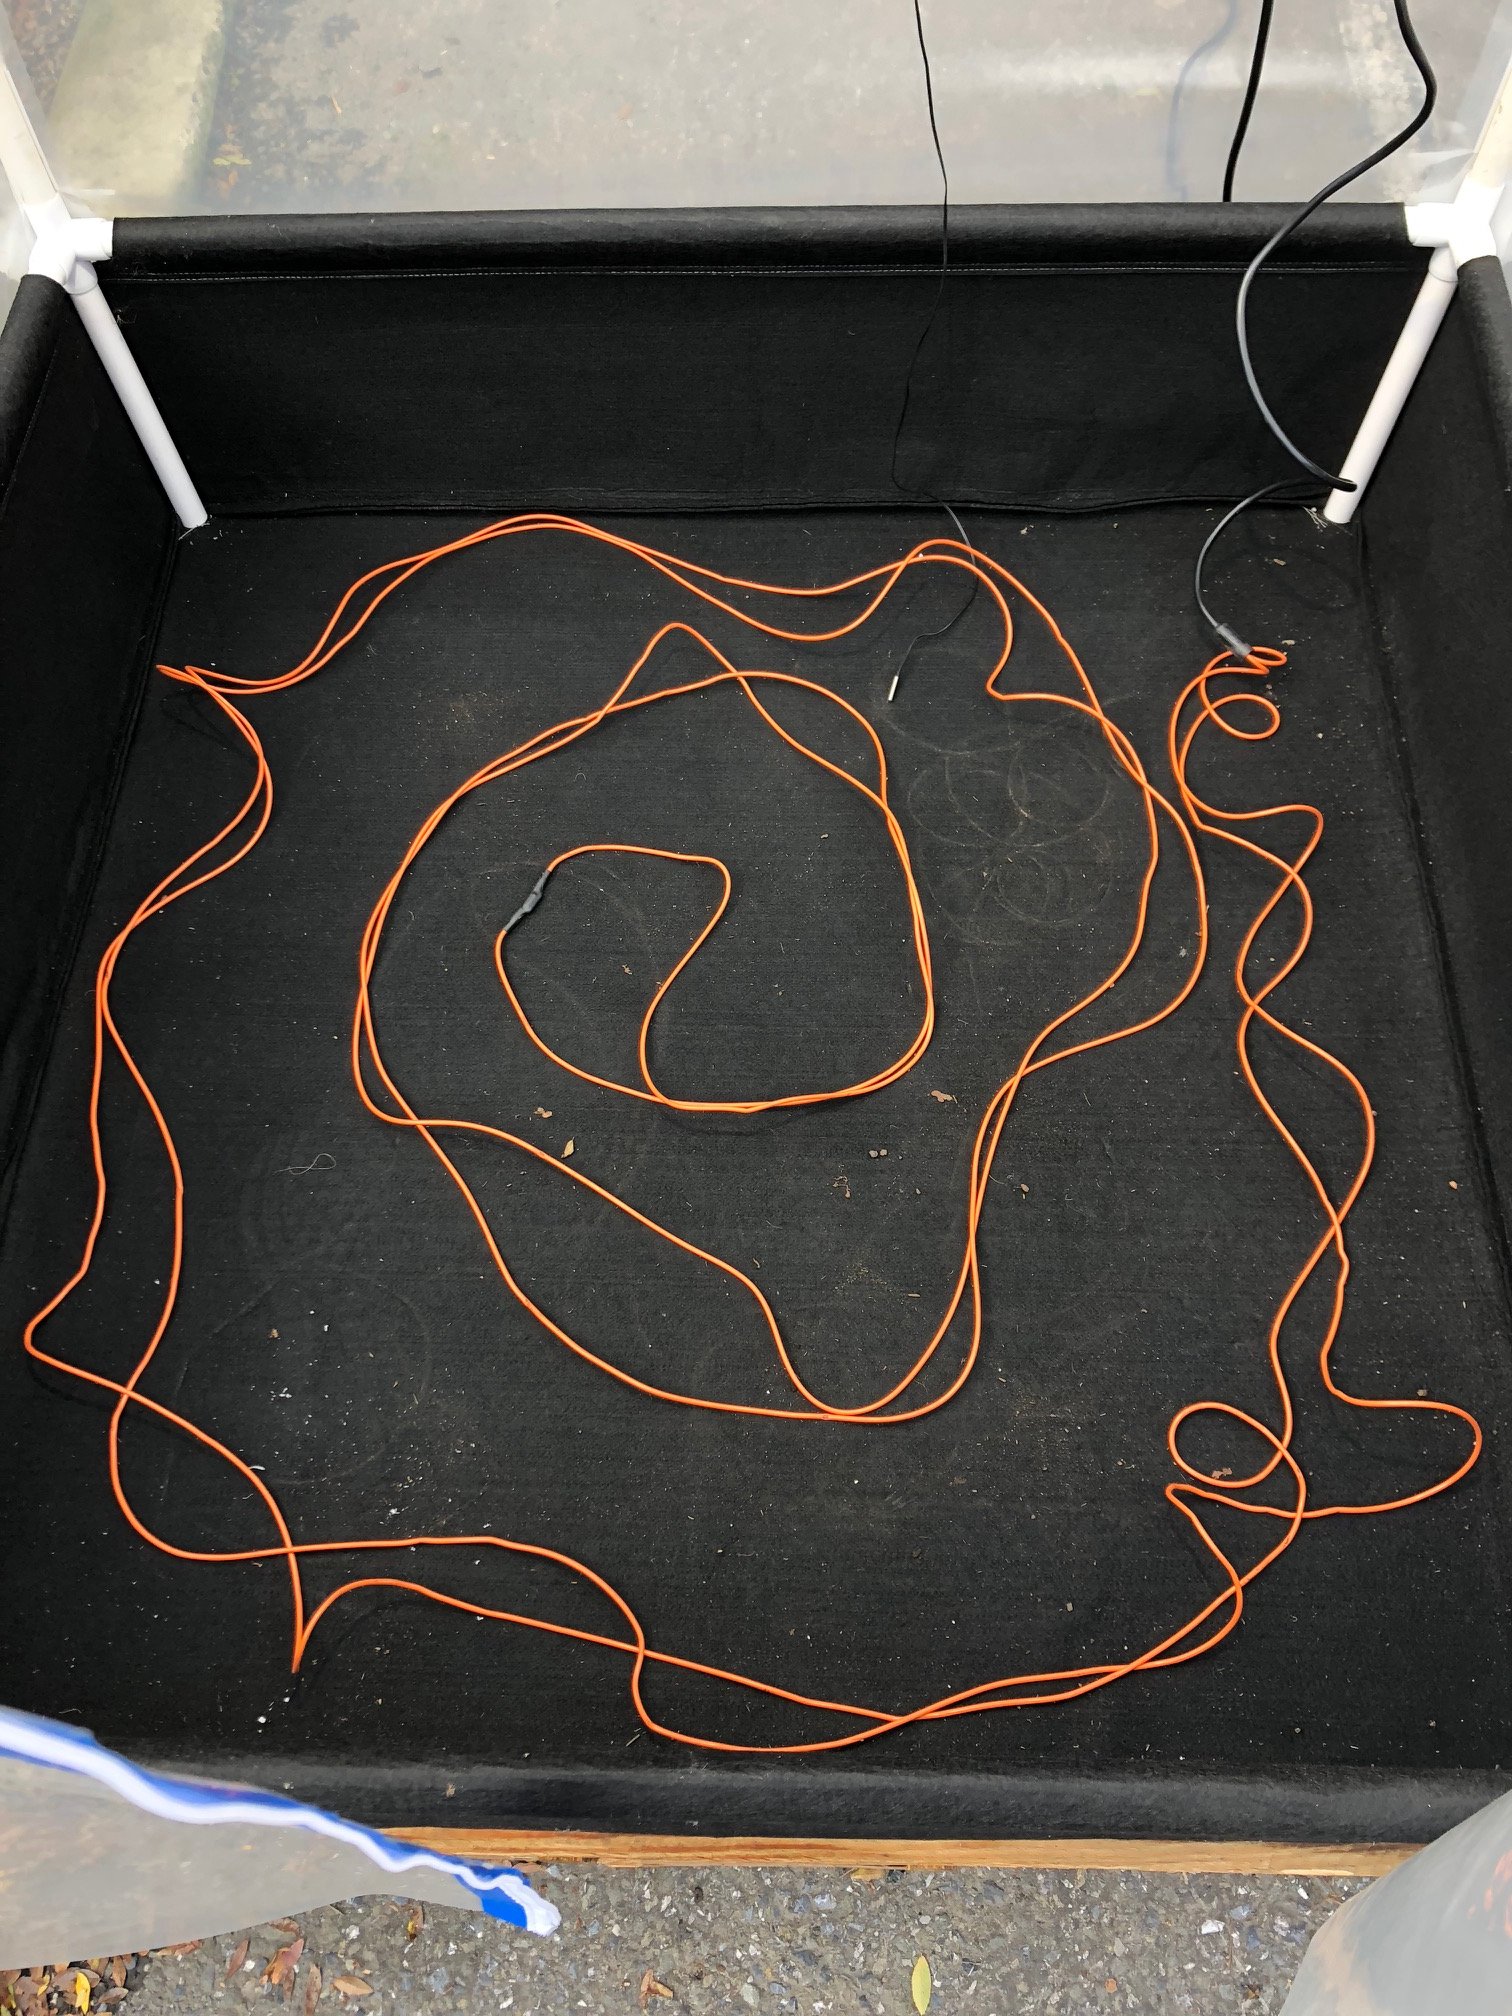
Due to DIY being all about choice, you can change this up how ever you want. But there's one fairly expensive component I used here and depending on your situation, you may want to stick with it. And that's the Geoplanter. First of all, it makes the PVC pipe much easier to work with. No need for awkward ropes or hammering stakes into the ground to prevent your greenhouse from becoming a kite. But there's a second reason. If it gets cold enough, I can install soil heating cables into the bed, fill the whole thing with soil and now my greenhouse is lit AND radiantly heated! More about that later. For now, the assembly.
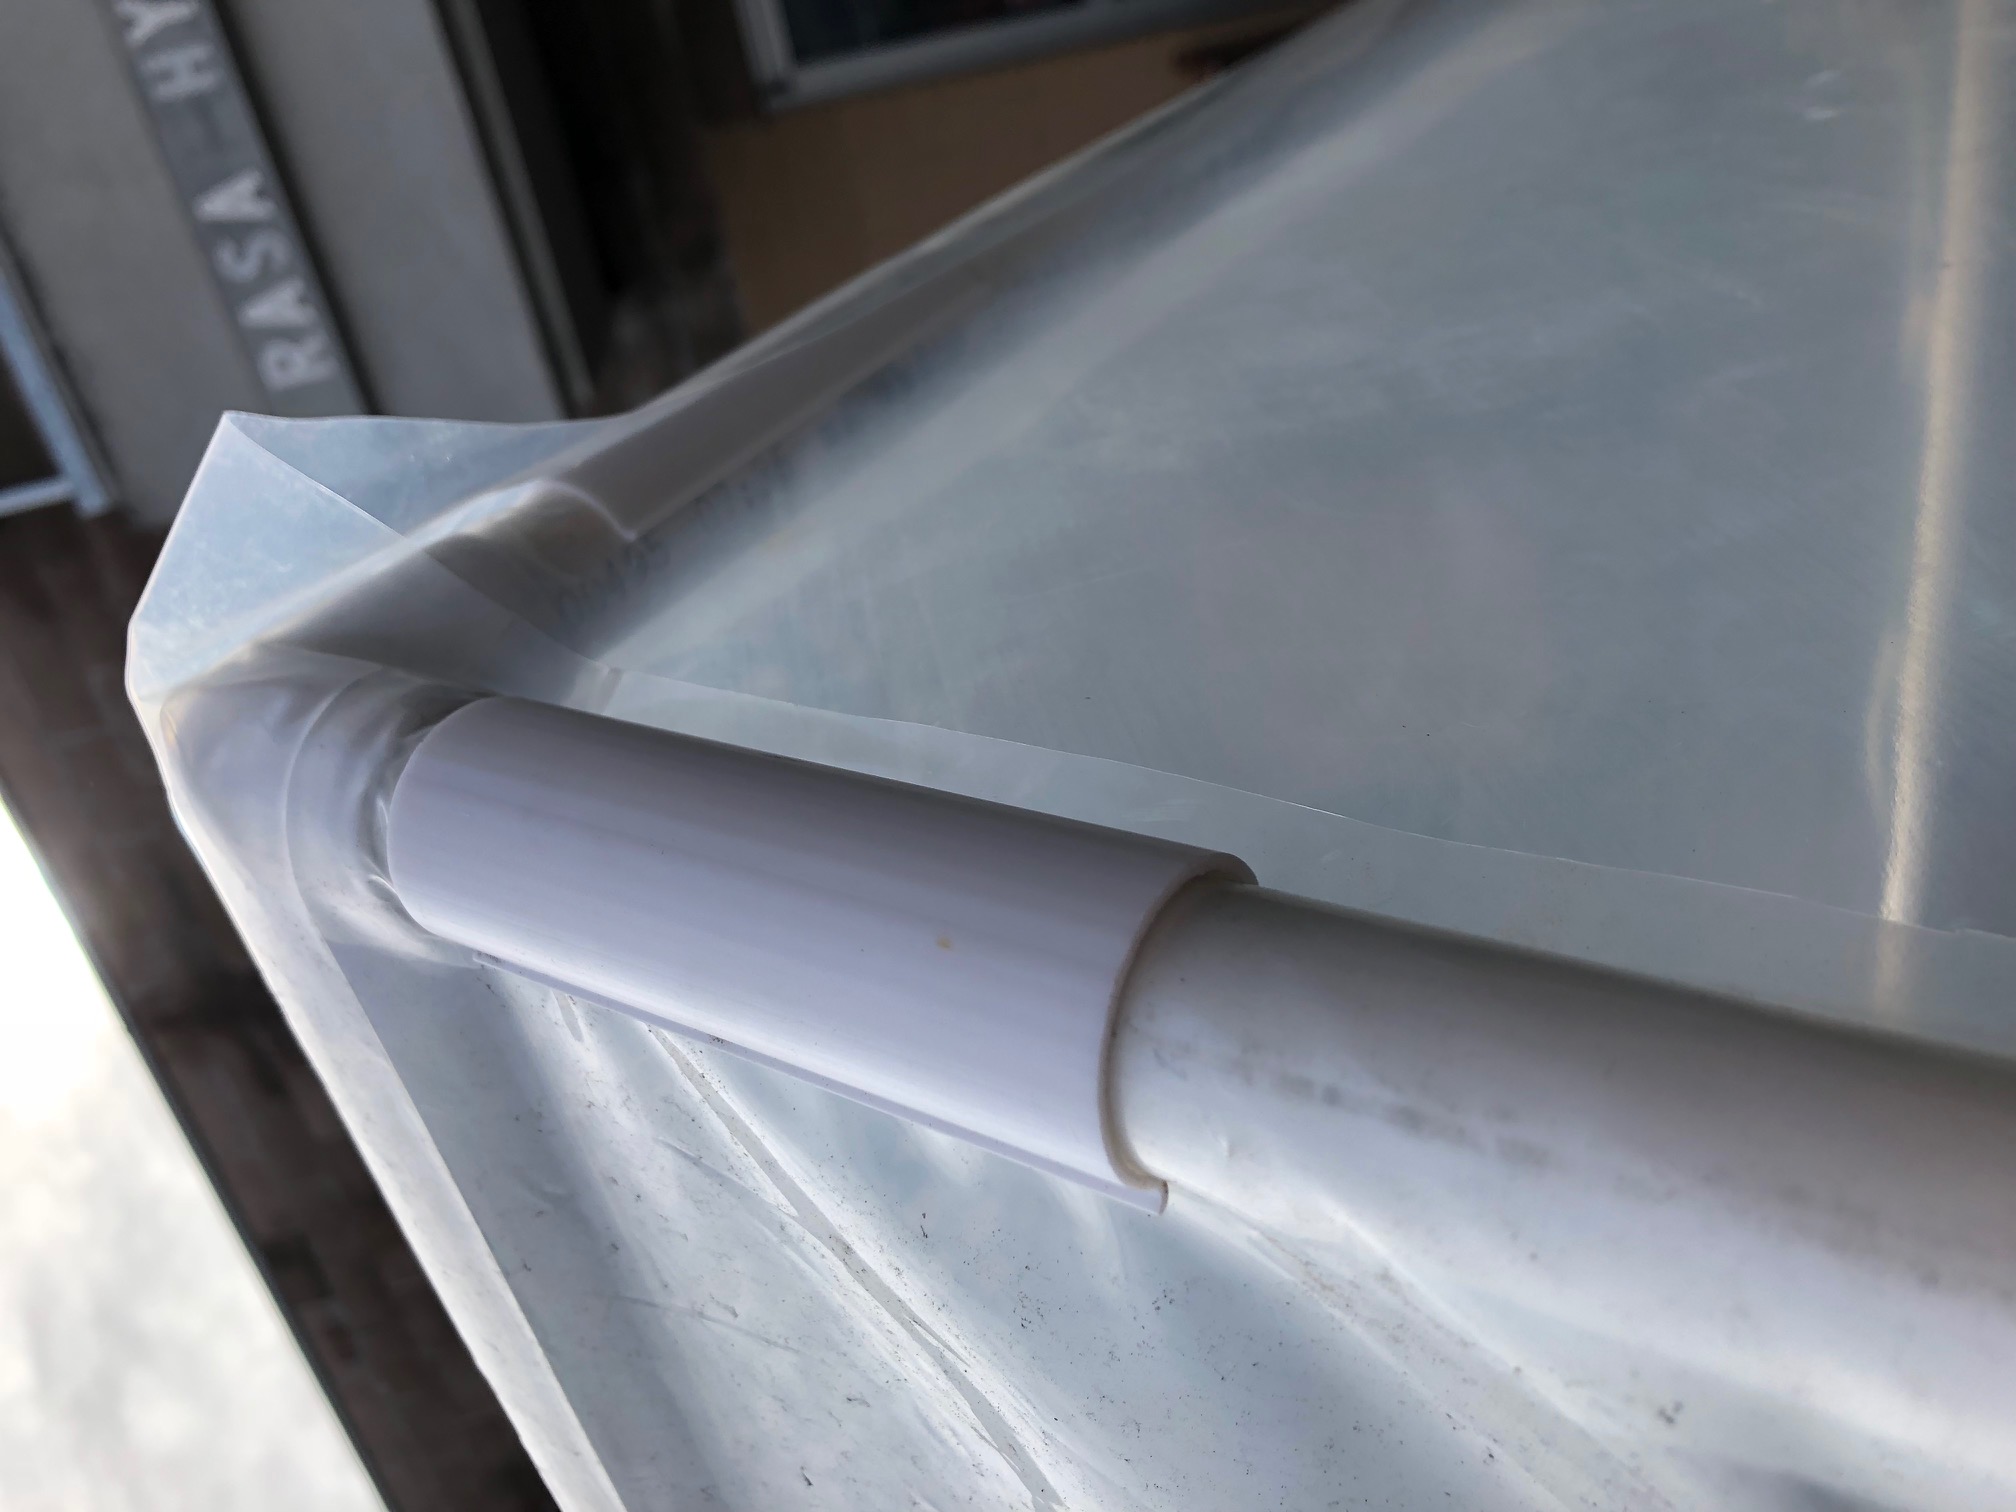
Building the Frame out of Greenhouse PVC Fittings
Assemble the Greenhouse PVC Fittings as shown. Each part is color coded to the list of materials needed above. The green 4-Way fittings are part of the Geoplanter and it is the Foundation to keep the Greenhouse from becoming a large kite. (Once your greenhouse is completed you'll want to fill the Geoplanter with soil immediately)
Once you install the frame we highly recommend you paint the PVC with White Acrylic Latex Paint to prevent the PVC from off-gassing and degrading your greenhouse film.
If you want to get a little fancy and add extra wind resistance, we also have Wye PVC Fittings, so you can install braces.
And if you want to take it a step farther and add a door, we also have PVC hinges.
Sourcing and Installing the Greenhouse Film
Once you have assembled and painted the PVC Frame, now its time to secure the Greenhouse Film to the PVC Frame.
We highly recommend getting your hands on true greenhouse film. Buying the clear painters or demolition plastic at your local Hardware store isn't UV friendly and you'll be constantly addressing tears and the diffusion and transmission will degrade very quickly.(Unless you decided to NOT paint your PVC Frame.) A 6 mil 4 Year Film is a popular choice.
Look for a greenhouse film that will help address the problems faced in your local area. They not only have UV Protective coatings, but they also have other valuable coatings to help deliver successful crops. For example, there are IR/AC Film Coatings, which stands for Infrared Radiation and Anti-Condensate, respectively. Some films help prevent Infrared Radiation from entering your greenhouse, so it can help run cooler when running your greenhouse during hot summer days. Anti-condensate is film coating that when condensation that forms on the inside of your greenhouse, the water beads glide off the film instead of dripping down on your favorite plants.
Step One: Once you've obtained your greenhouse film you need to cut three pieces.
- First Two Pieces for Front and Back: 4.5 FT x 7 FT
- Third Pieces for Roof and Sides: 4.5 FT x 15 FT
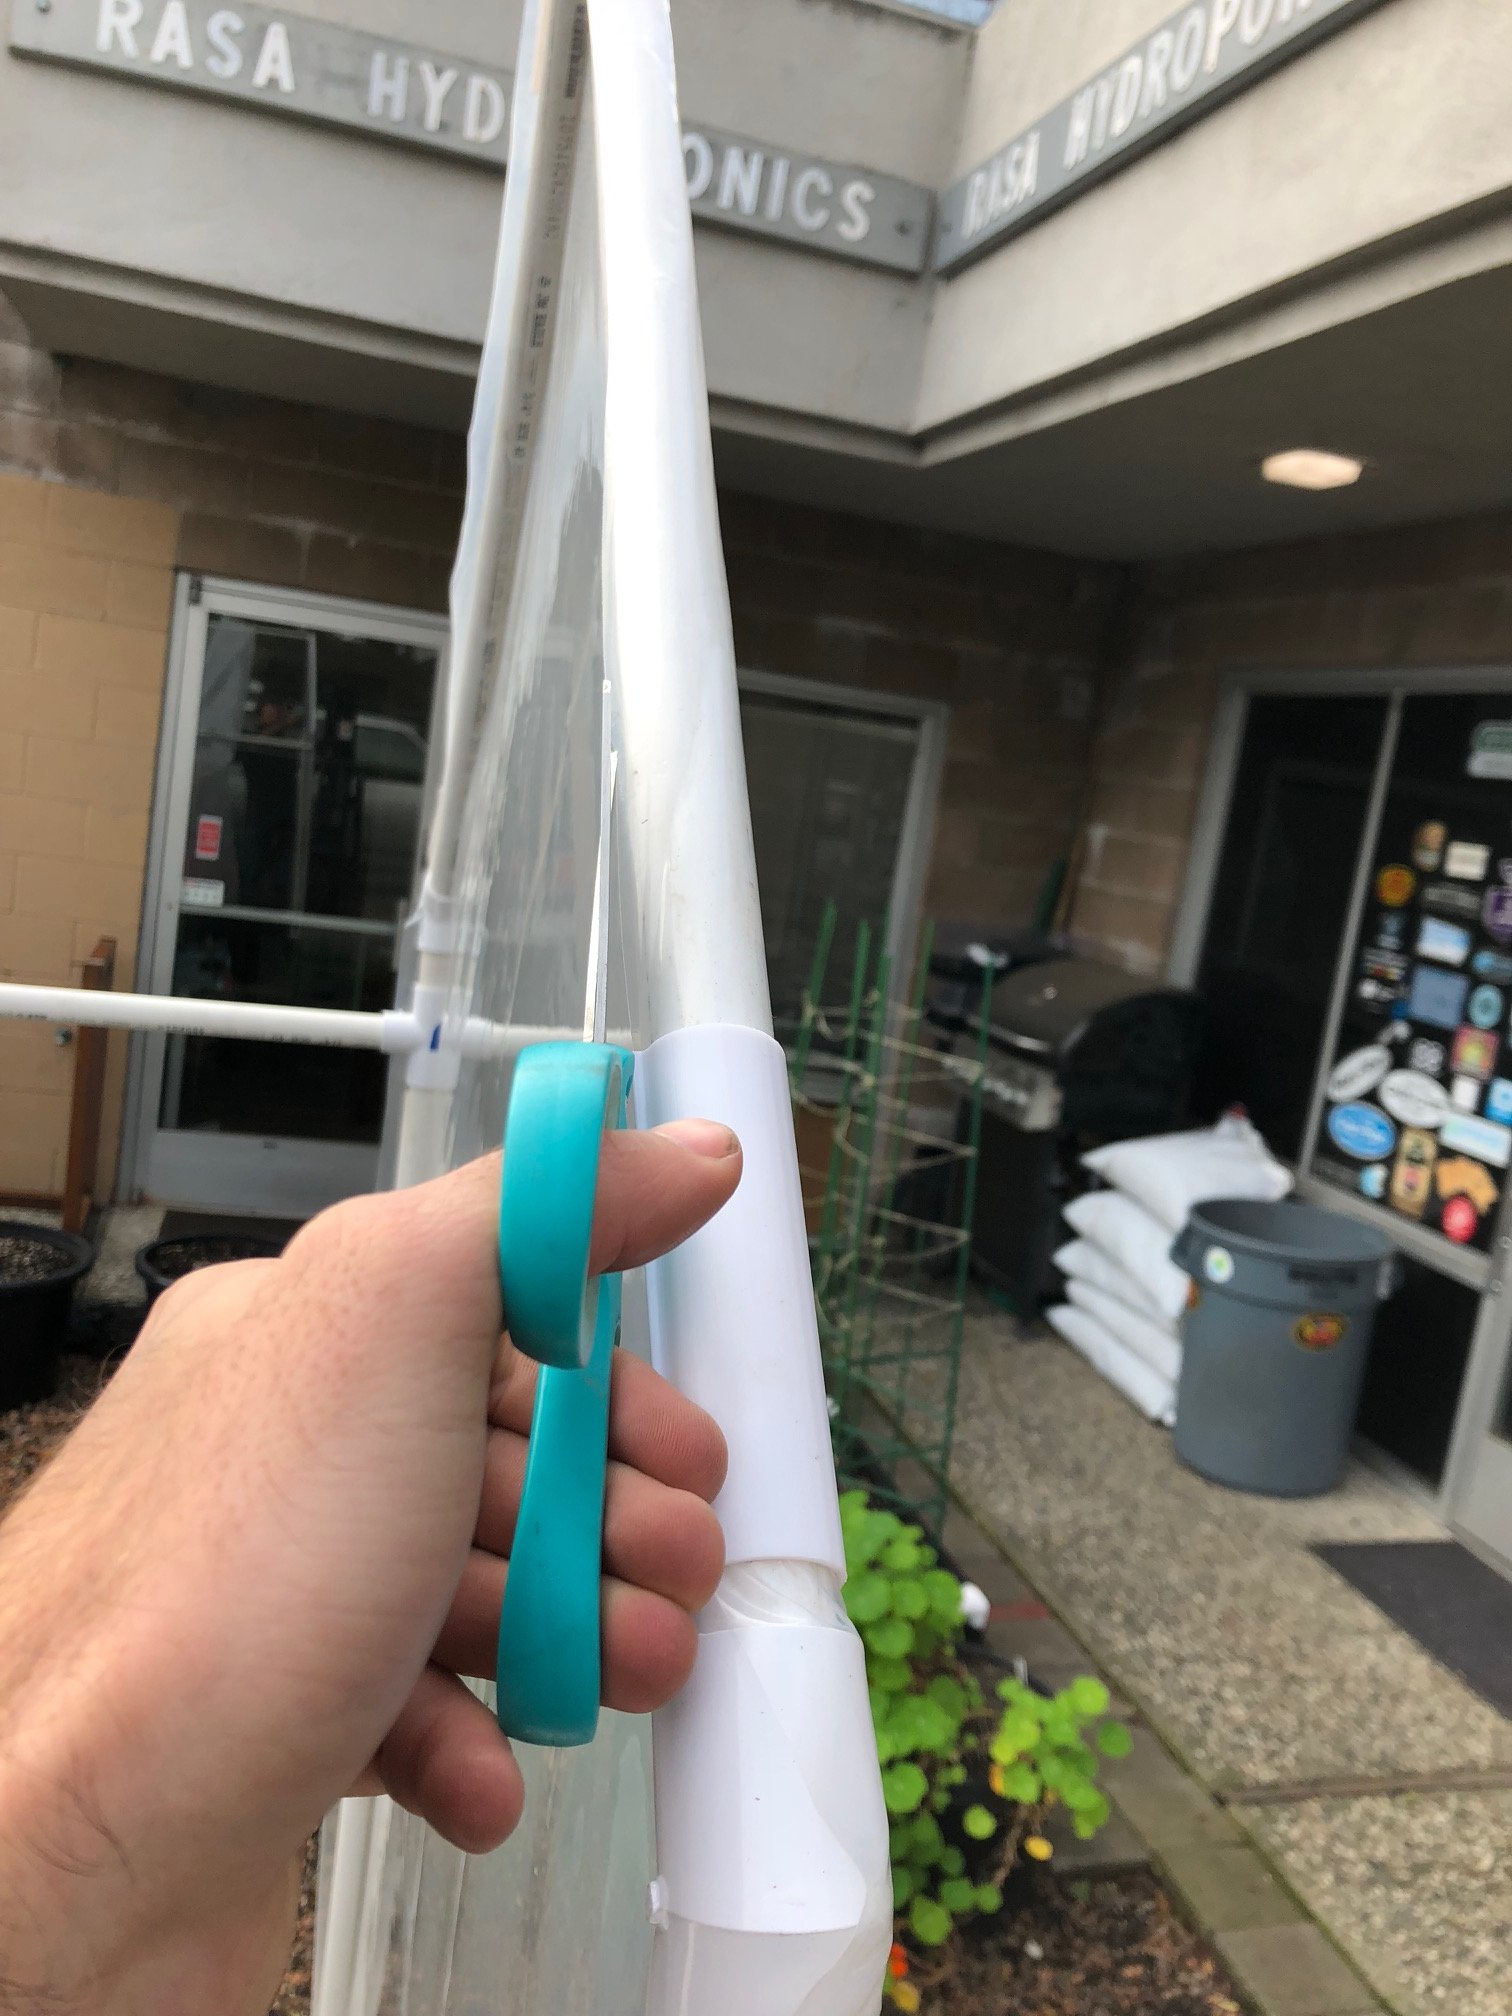
Step Two and Three: Install Back and Front Film Using our 3/4" PVC Snap Clamps
Install the first back film piece starting at the peak. Put a snap clamp on each side of the peak to secure the top middle section to the greenhouse. Add a snap clamp to the right corner doing your best to prevent wrinkles. Adjust accordingly. Now clamp the film to the left corner and make any adjustments to remove any wrinkles. Work your way down to the base and repeat this process for the front.
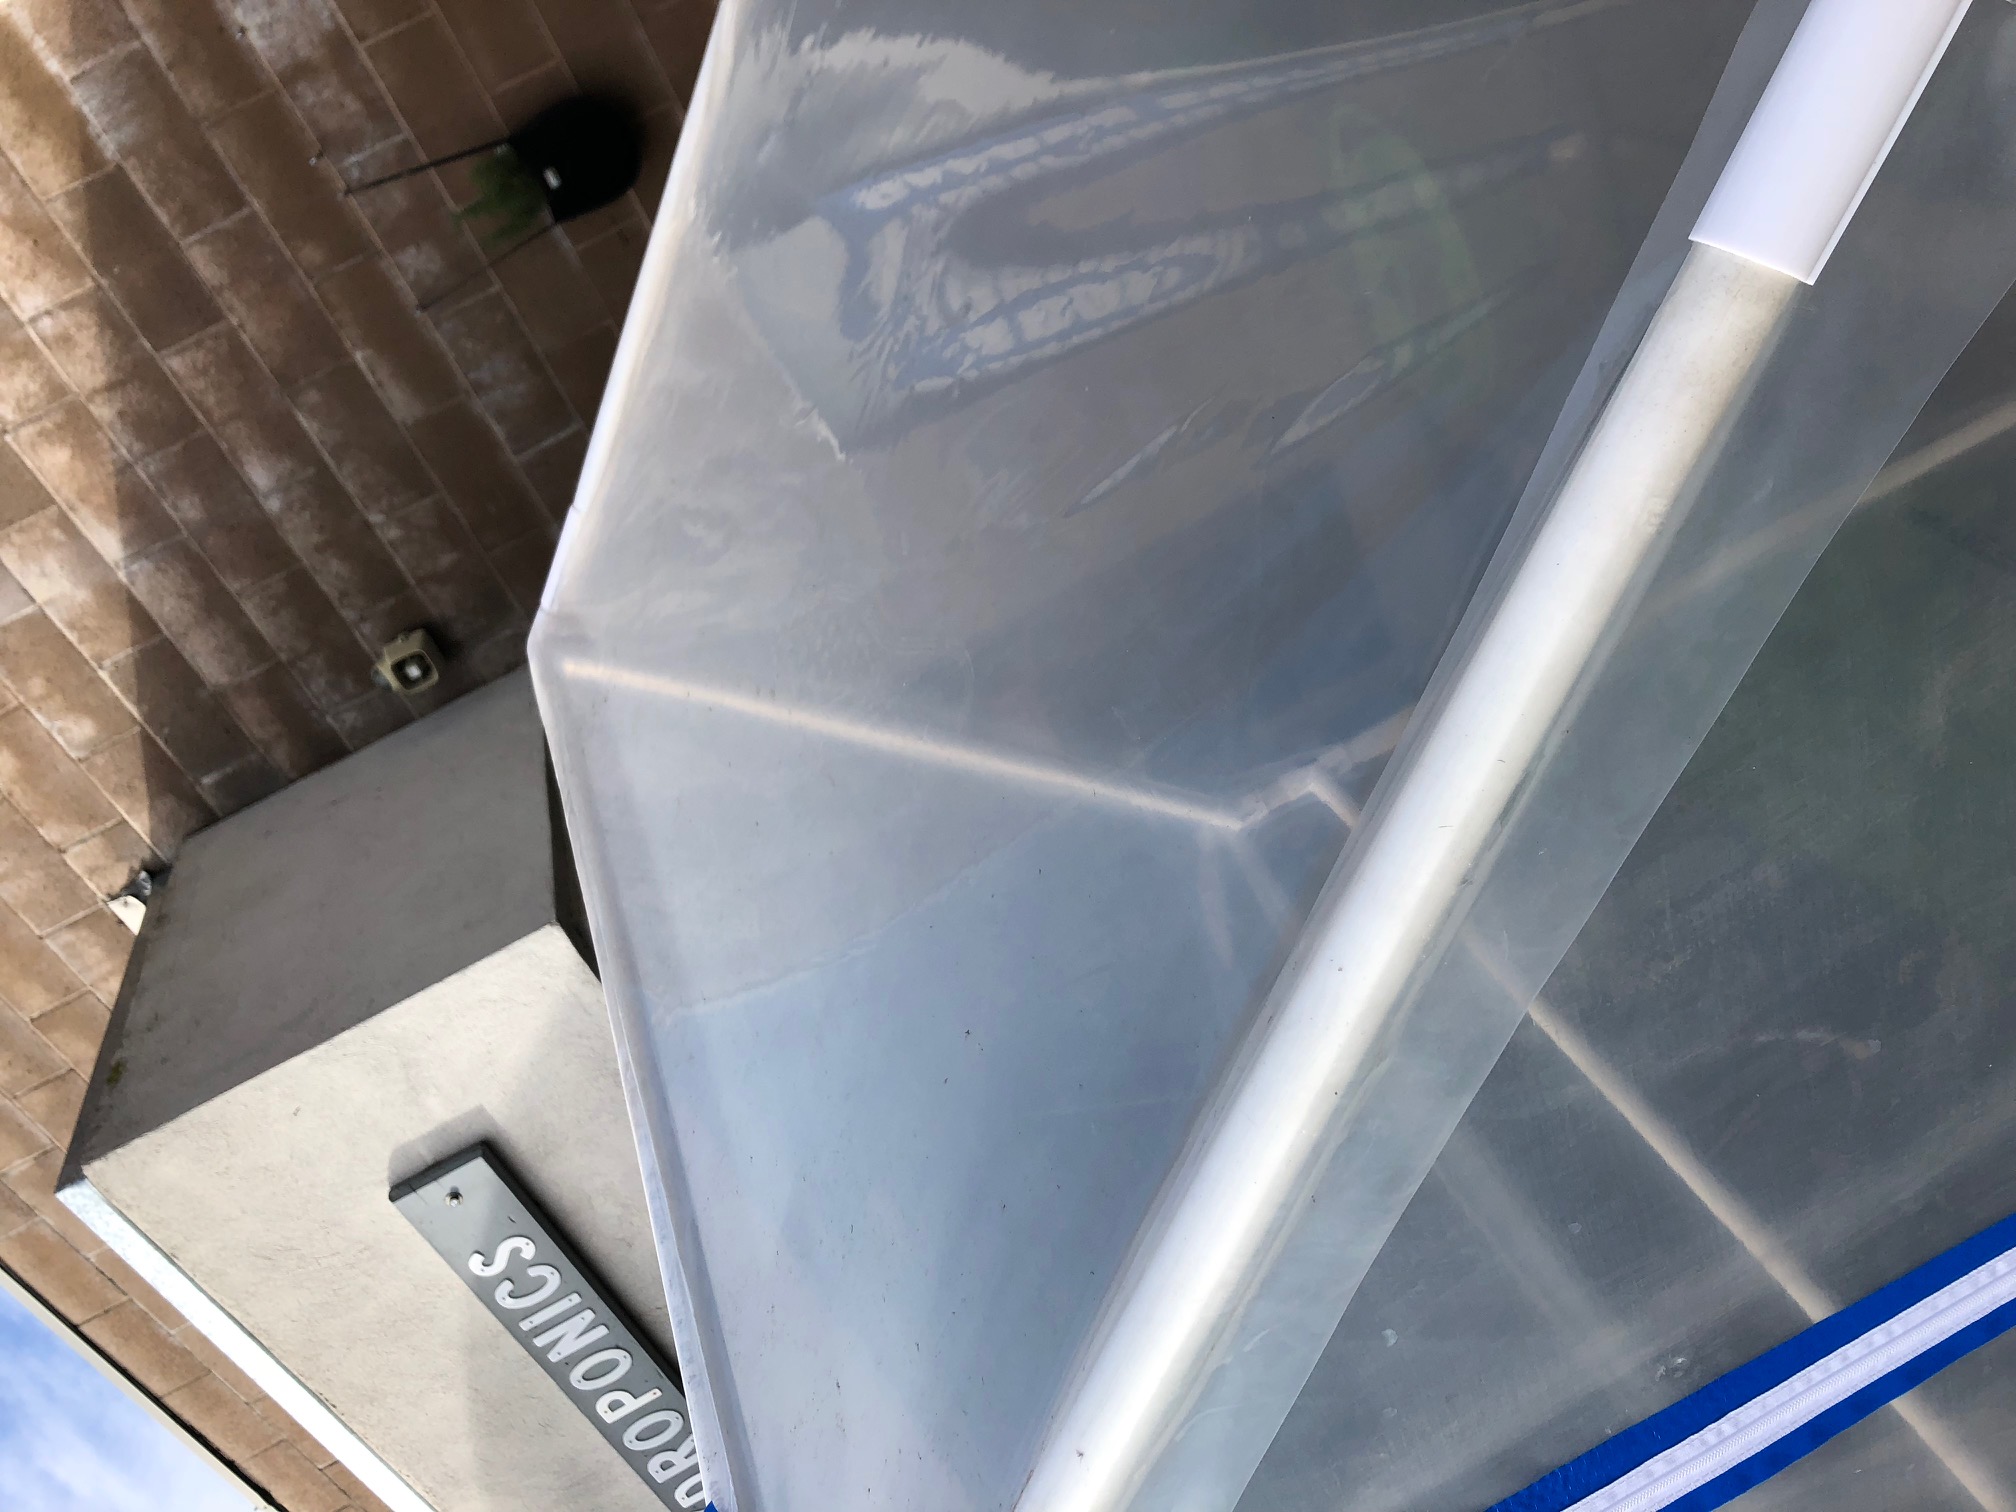
Step 4: Install the Roof and Side Piece
Once the Front and Back film pieces are clamped to the frame, pull the roof and side piece over the top of the frame. Make sure the bottom of the film on each side is even and the film is square to the frame.
The roof film needs to be installed over the front and back film to prevent rain from getting in. Work from back to front and from the top to the bottom removing the snap clamps on a time and reinstalling. Do you best to keep the films wrinkle free.
Trim off any excess film with scissors.
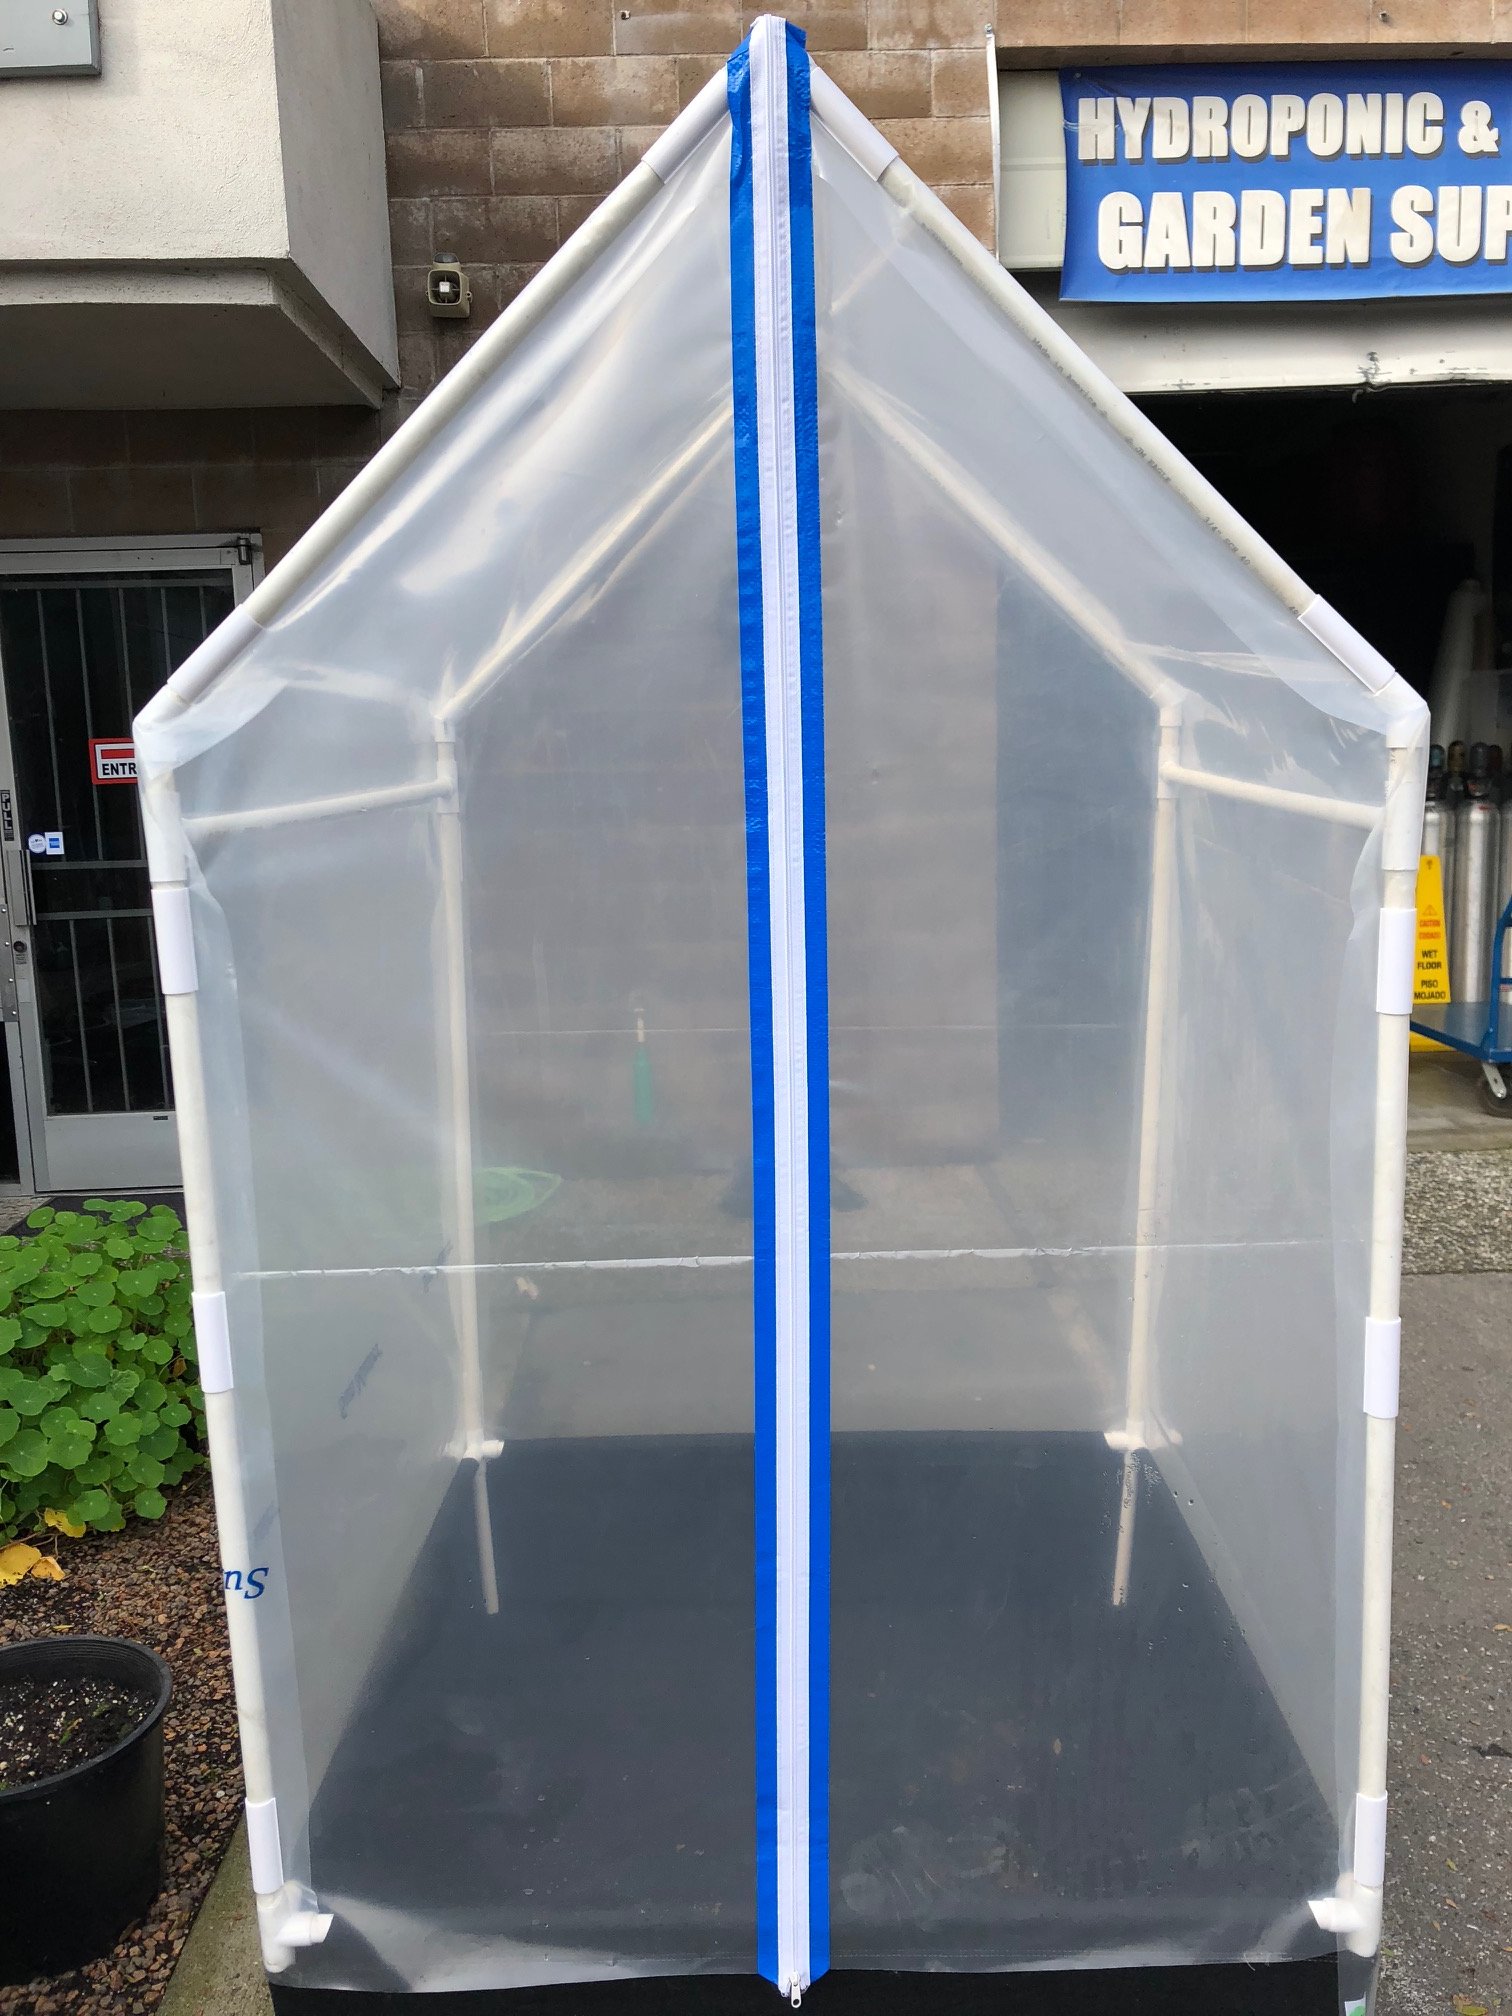
Step 5: Install Zipper on Front Film
Using the Tarp Zip-Up Zipper, unroll the zipper and start at the top. Before exposing the adhesive, line up the bottom of the zipper to the bottom of the film and mark where you need to start at the top and mark the centerline you'll be following. Remove the tape from the adhesive as you work you way down. This will prevent the zipper from sticking to the wrong areas. IMPORTANT: Do not cut the film before applying the zipper. Adhere the zipper to the film, then unzip the zipper, and cut the film as shown.

Light Management
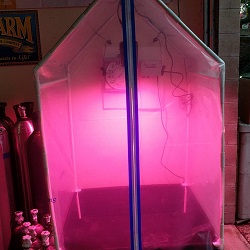
As you may have noticed from the picture, my greenhouse is purple. Well, that's because I'm using an LED for efficiency sake. Now here the light is going to serve 2 purposes. It's going to extend the light period during the day. And it's going to provide extra lumens, to make up for the suns lack of production. Now I'm going to show you the light i'm using and go into some reasons why i'm using it. But at the end of the day, what's important here is that we get something to keep that house lit up.

|
|
GH150 Supplemental Light$300 |
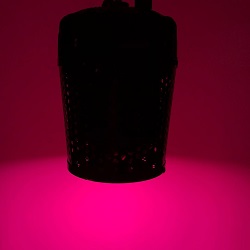
This is the light I chose And there are a few reasons for this choice.
- Most Efficient output for the power.
- Small enclosure doesn't block out as much sun.
- Lower cost for what your getting.
- Access to sensors so I can make the light control things and dim. (I'm just going to leave it on full blast, but it's nice to know I have the option.)
Other options would include CFL's and even HID systems. The upfront cost of these things will be a bit cheaper, but you'll be spending more on power in the long run.
Heat Management
Previously in the article I mentioned something about heat cables. I'd like to dig a little deeper into that. Depending on your temperatures, you will need more heat than the light itself will provide. In our case, the light was able to bring it about 6 degrees above ambient. If that is not enough, you may want to also purchase a soil heating cable. They're fairly cheap, but if you fill the planter with soil like we did, you can now use your soil as a radiant heater for the rest of the greenhouse. In this size greenhouse, each 48ft section should be able to supply about 6 more degrees as needed. Your mileage may vary.
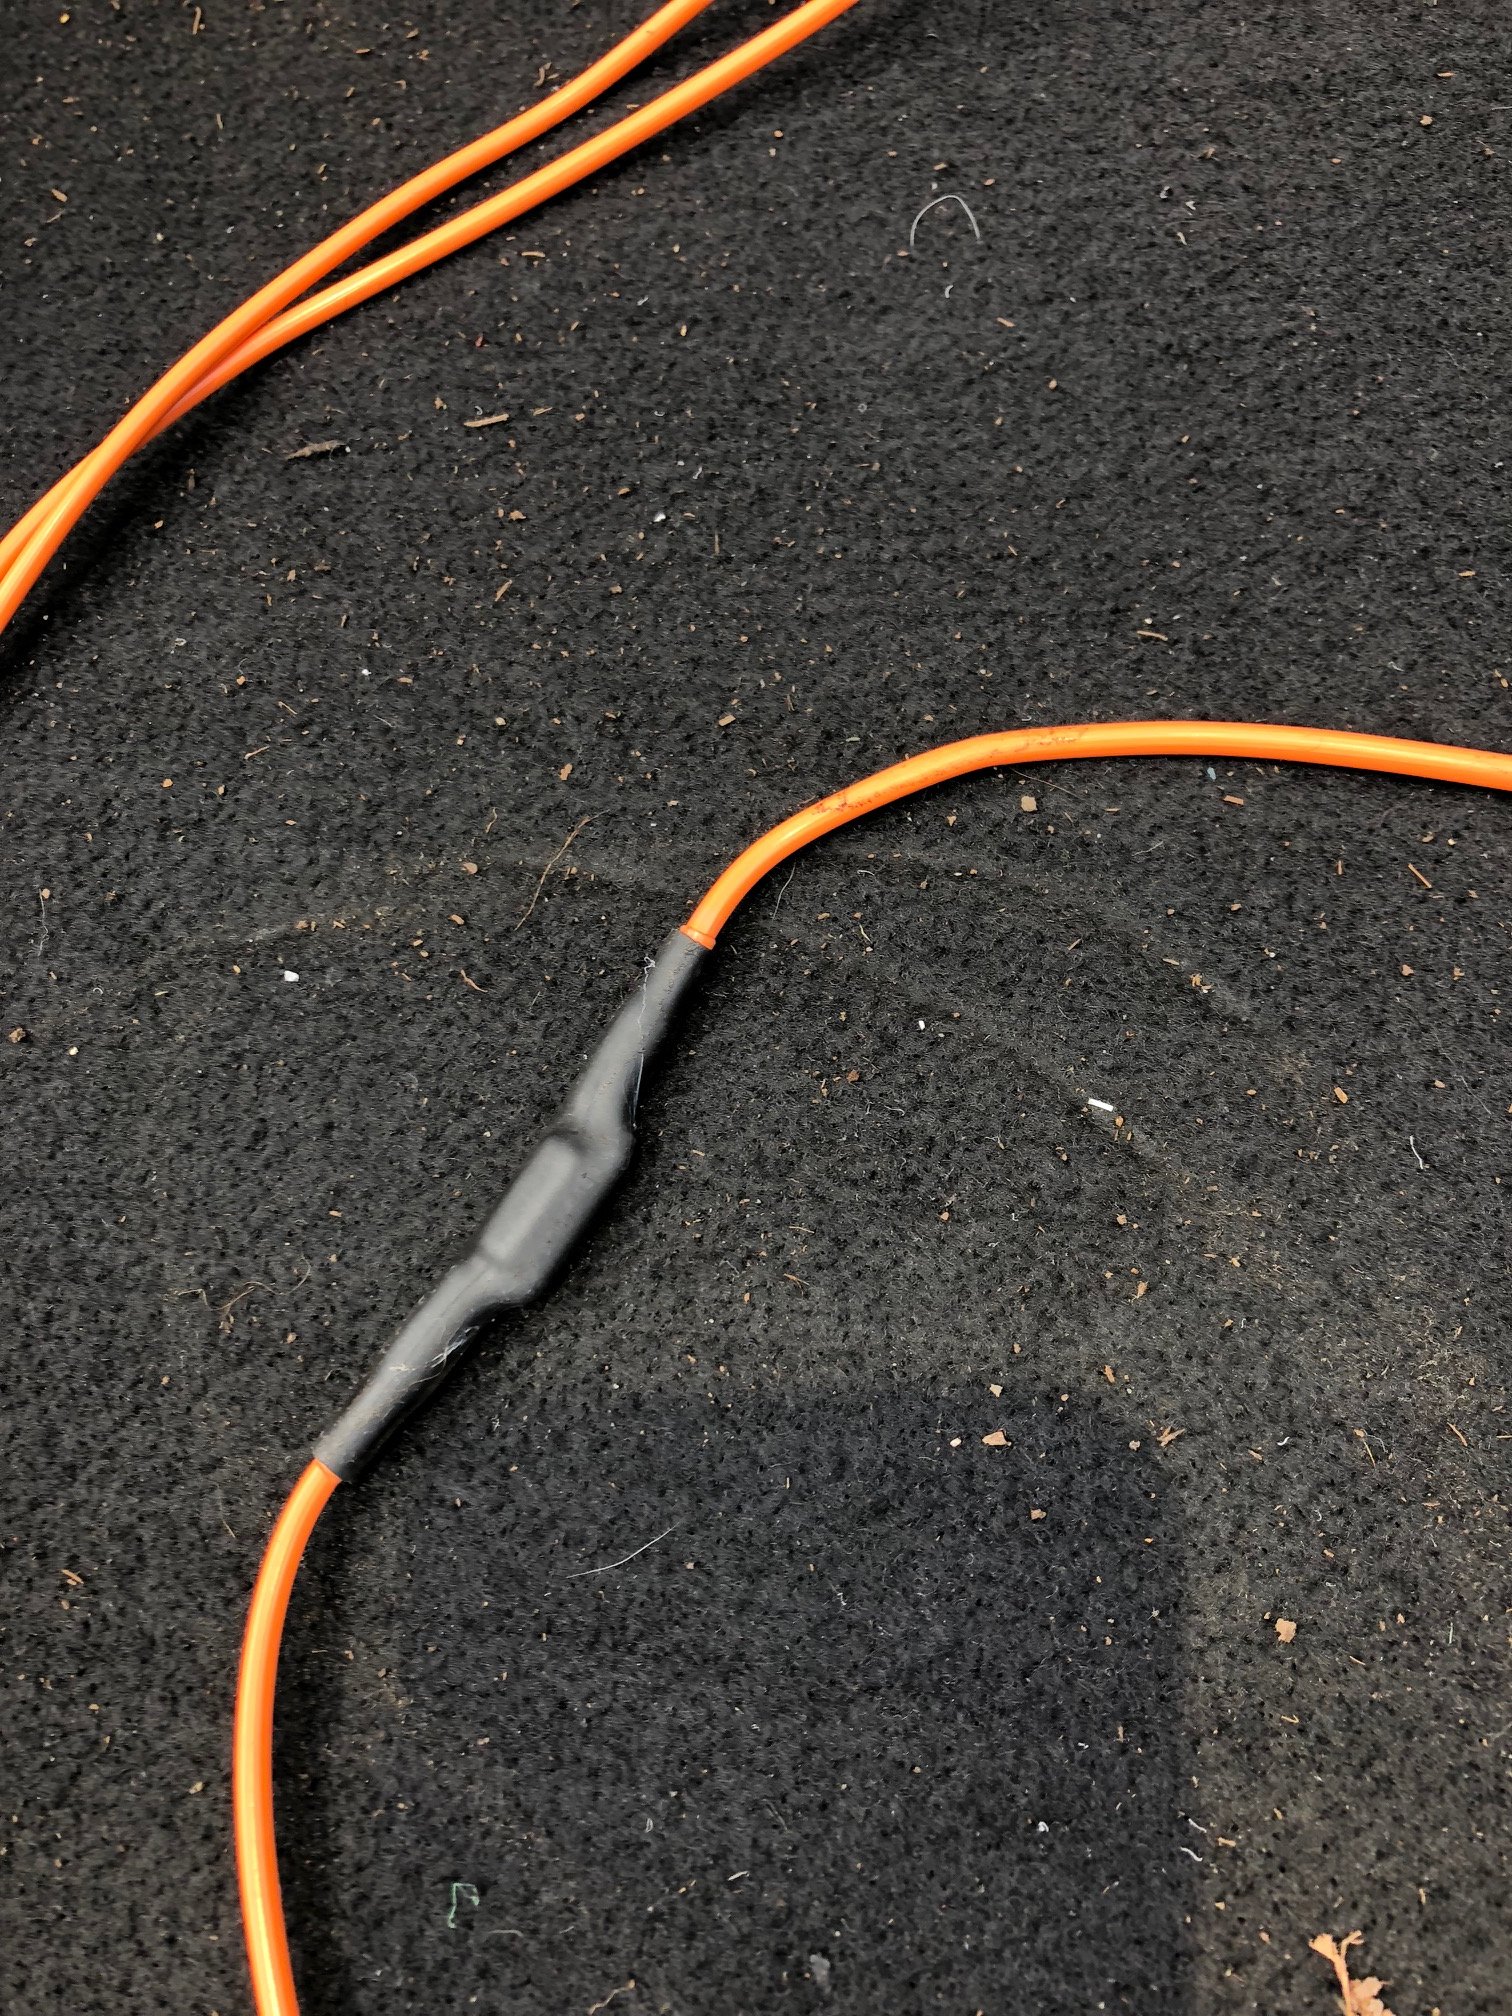
When installing your soil heating cable be sure to place the built-in thermostat in the center of your soil bed. (A close up of view of the thermostat is on the right.)
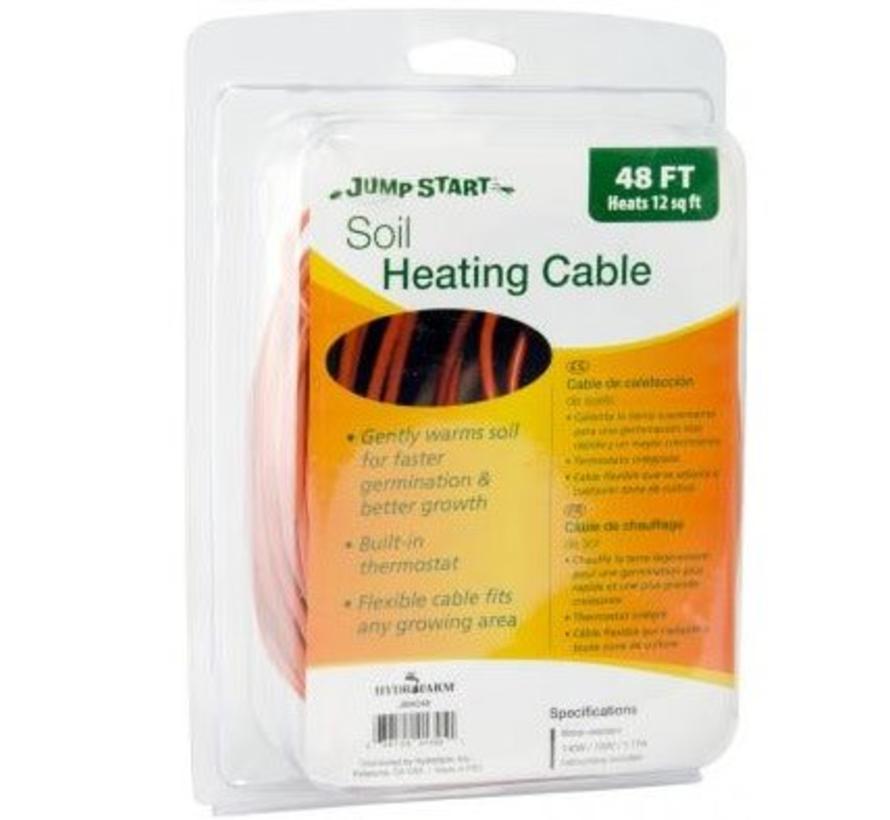 |
Jump Start Soil Heating Cable |
Ventilation and Air Circulation
Greenhouse ventilation is important to bring in fresh air for your plants and keep your temperature and humidity levels ideal. On the warm days ventilation it is important to keep the temperature in your greenhouse down typically greenhouse ventilation rate are on the order of 1 or 2 cfm per cubic foot of greenhouse.
And on the cold days ventilation is important to keep the humidity at a decent level without sucking all the heat out of it. Passive greenhouse ventilation should be sufficient to keep your humidity level below 80%
Track the Weather and Dew Point
When your farming in a greenhouse its important to be a step ahead of the weather. If your not prepared your crop is at high risk of damage or even death. If it rains make sure your all leak proof and you wont be exposed to flooding. If its going to be too hot you have time to pickup a shade net get your plants a good watering. If its too cold make sure your heating equipment is functioning or add extra heaters for those abnormally cold nights.
Dew Point is also a very important number to understand and track to prevent unwanted diseases and a watery mess. Install a Weather Tracker like Weather Underground that has dew point information. You can also calculate your dew point using a dew point calculator app.
Comments
Be the first to comment...